Printing with Prusa
Over the past month, I have been experimenting with my first 3D printer, specifically an Original Prusa MINI+.
Having recently completed the assembly, the next step was to calibrate the printer and attempt the first print.
I commend Prusa on their excellent documentation and knowledge base, which includes some useful videos. For example, the video below provides an overview of the calibration process, delivered by Josef Prusa.
In addition to the video, I have produced a simple diagram (below) that highlights key 3D printer terminology. The digram is purposely high-level and generic (not specific to the Original Prusa Mini+).
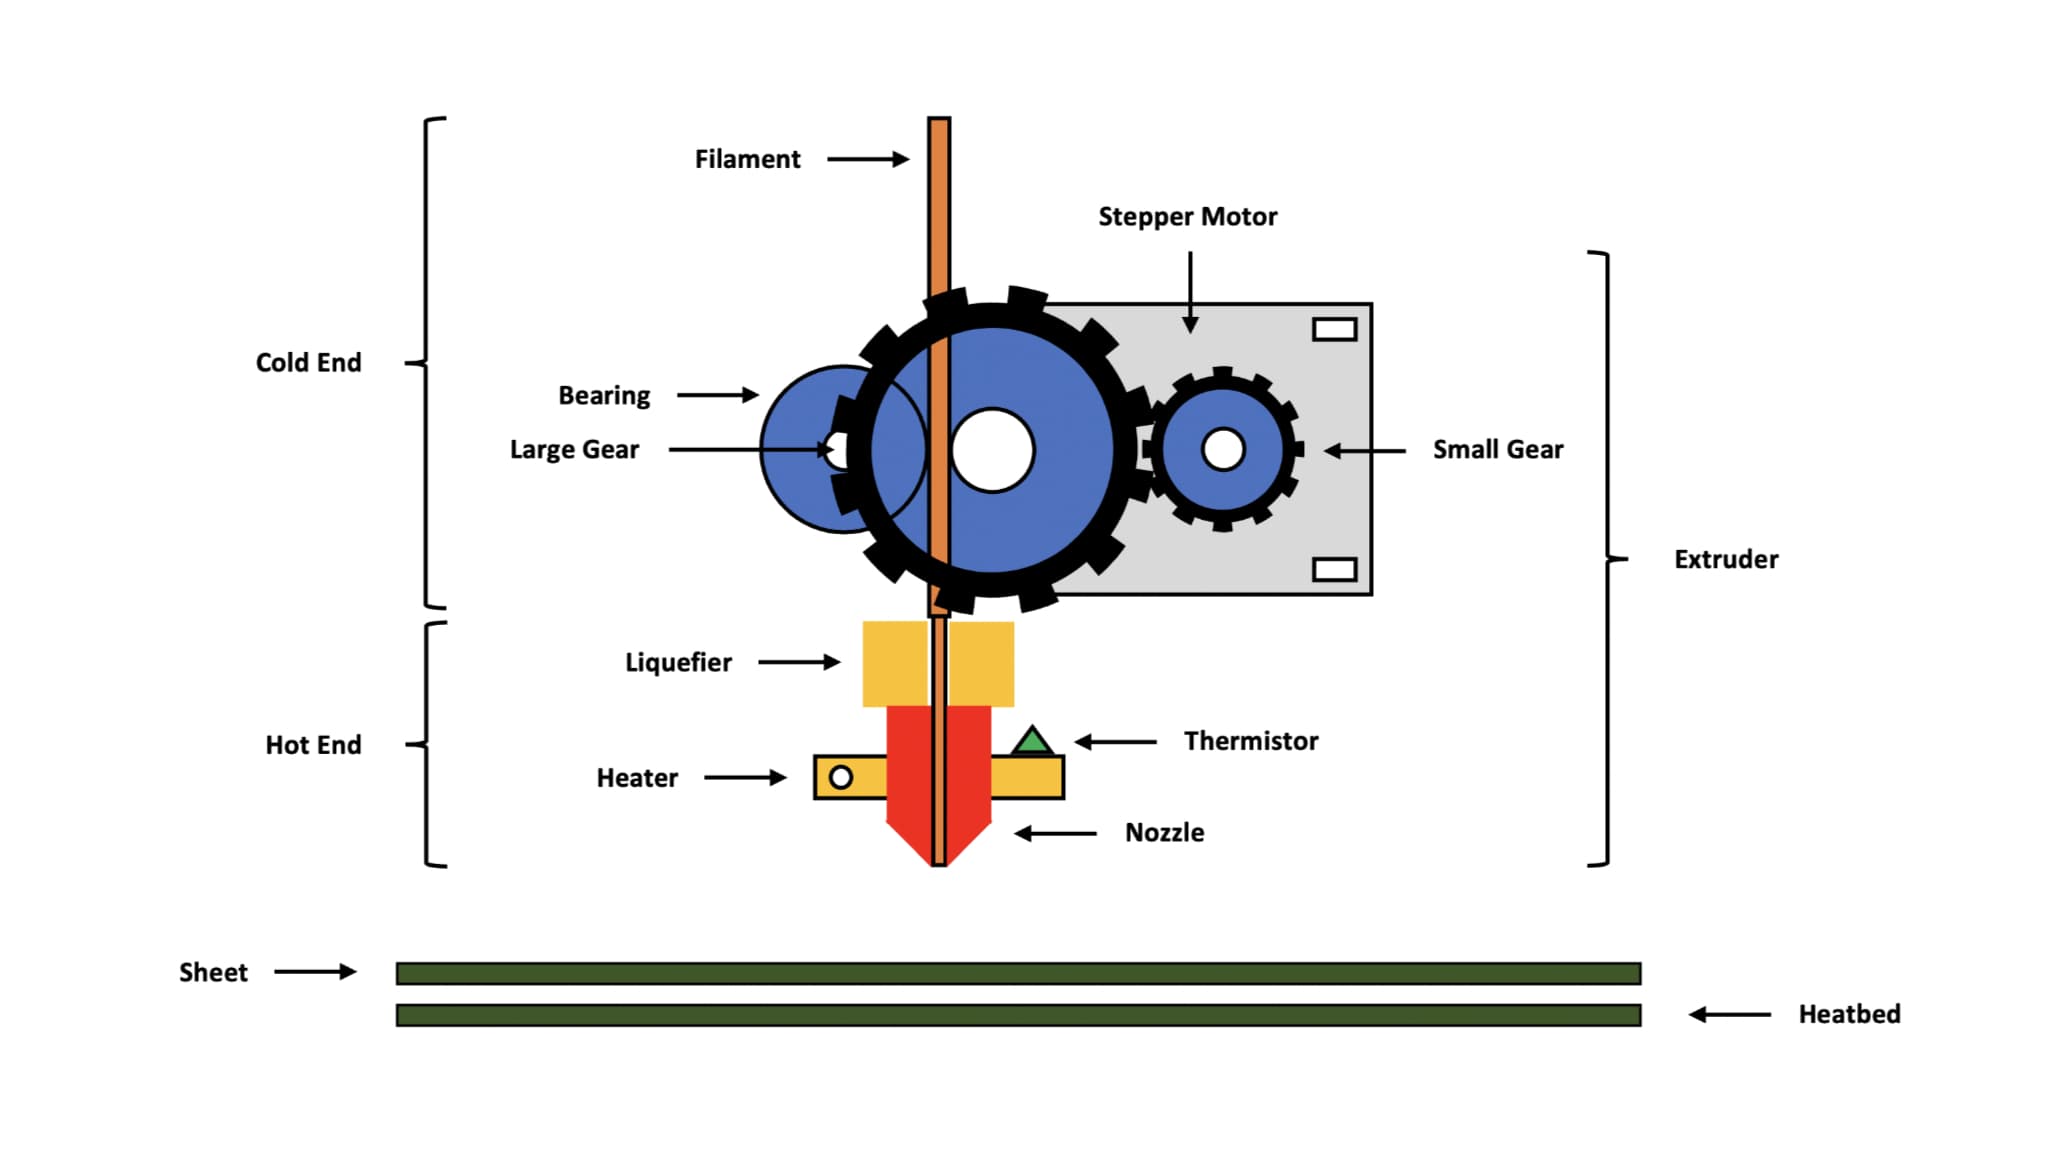
The goal of the calibration process is to ensure the nozzle is set to the appropriate height, allowing for good first layer adhesion. The nozzle can be adjusted in real-time using the “Live Adjust Z” function, however, it is important to ensure it is not lowered to the point that it blocks the plastic from exiting the extruder.
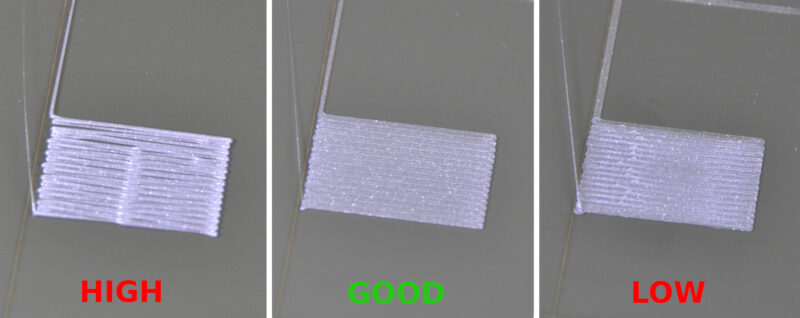
The image below highlights the desired outcome, detailed in the “first layer calibration” knowledge article.
I used Prusament PLA Prusa (Galaxy Black) and the smooth PEI sheet, which I cleaned using an isopropyl alcohol (90%) wipe, but I understand that warm water and a few drops of washing-up liquid works equally well.
It took me several attempts to calibrate the nozzle height, eventually achieving an outcome that closely matched the example. It should be noted that any adjustment of the nozzle height during the calibration process can impact the quality of the print. Therefore, I found it useful to repeat the process until I achieved a clean run from start to finish.
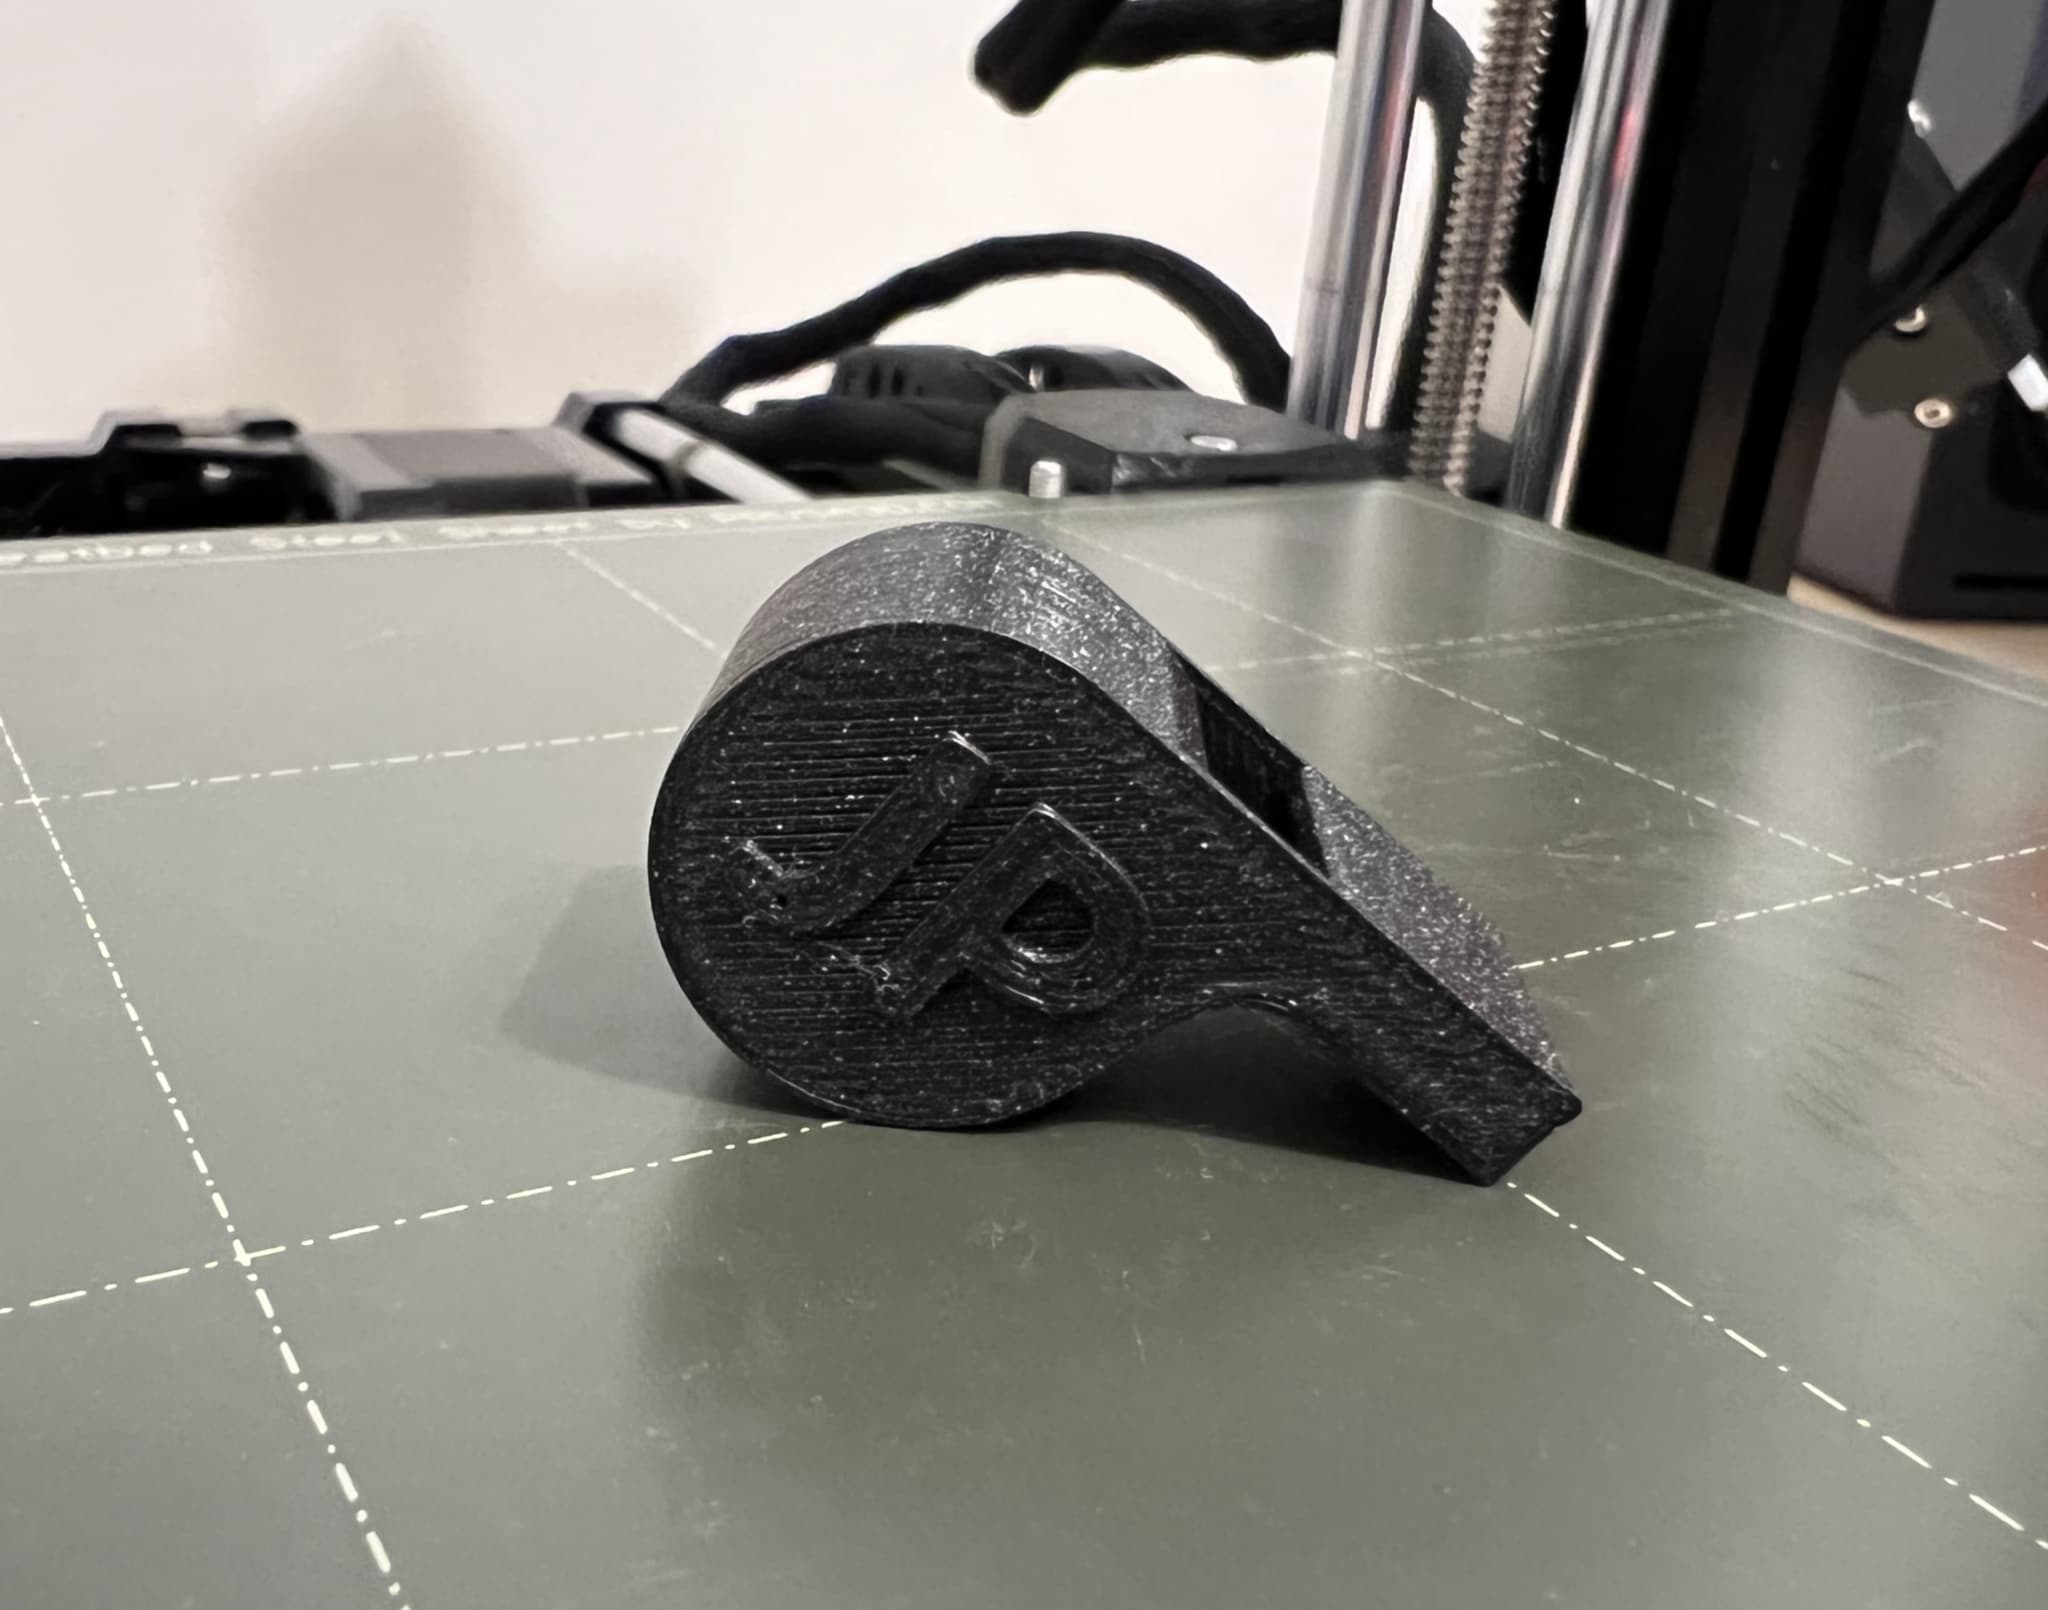
Once complete, I plugged in the included USB drive and selected my first print (a whistle).
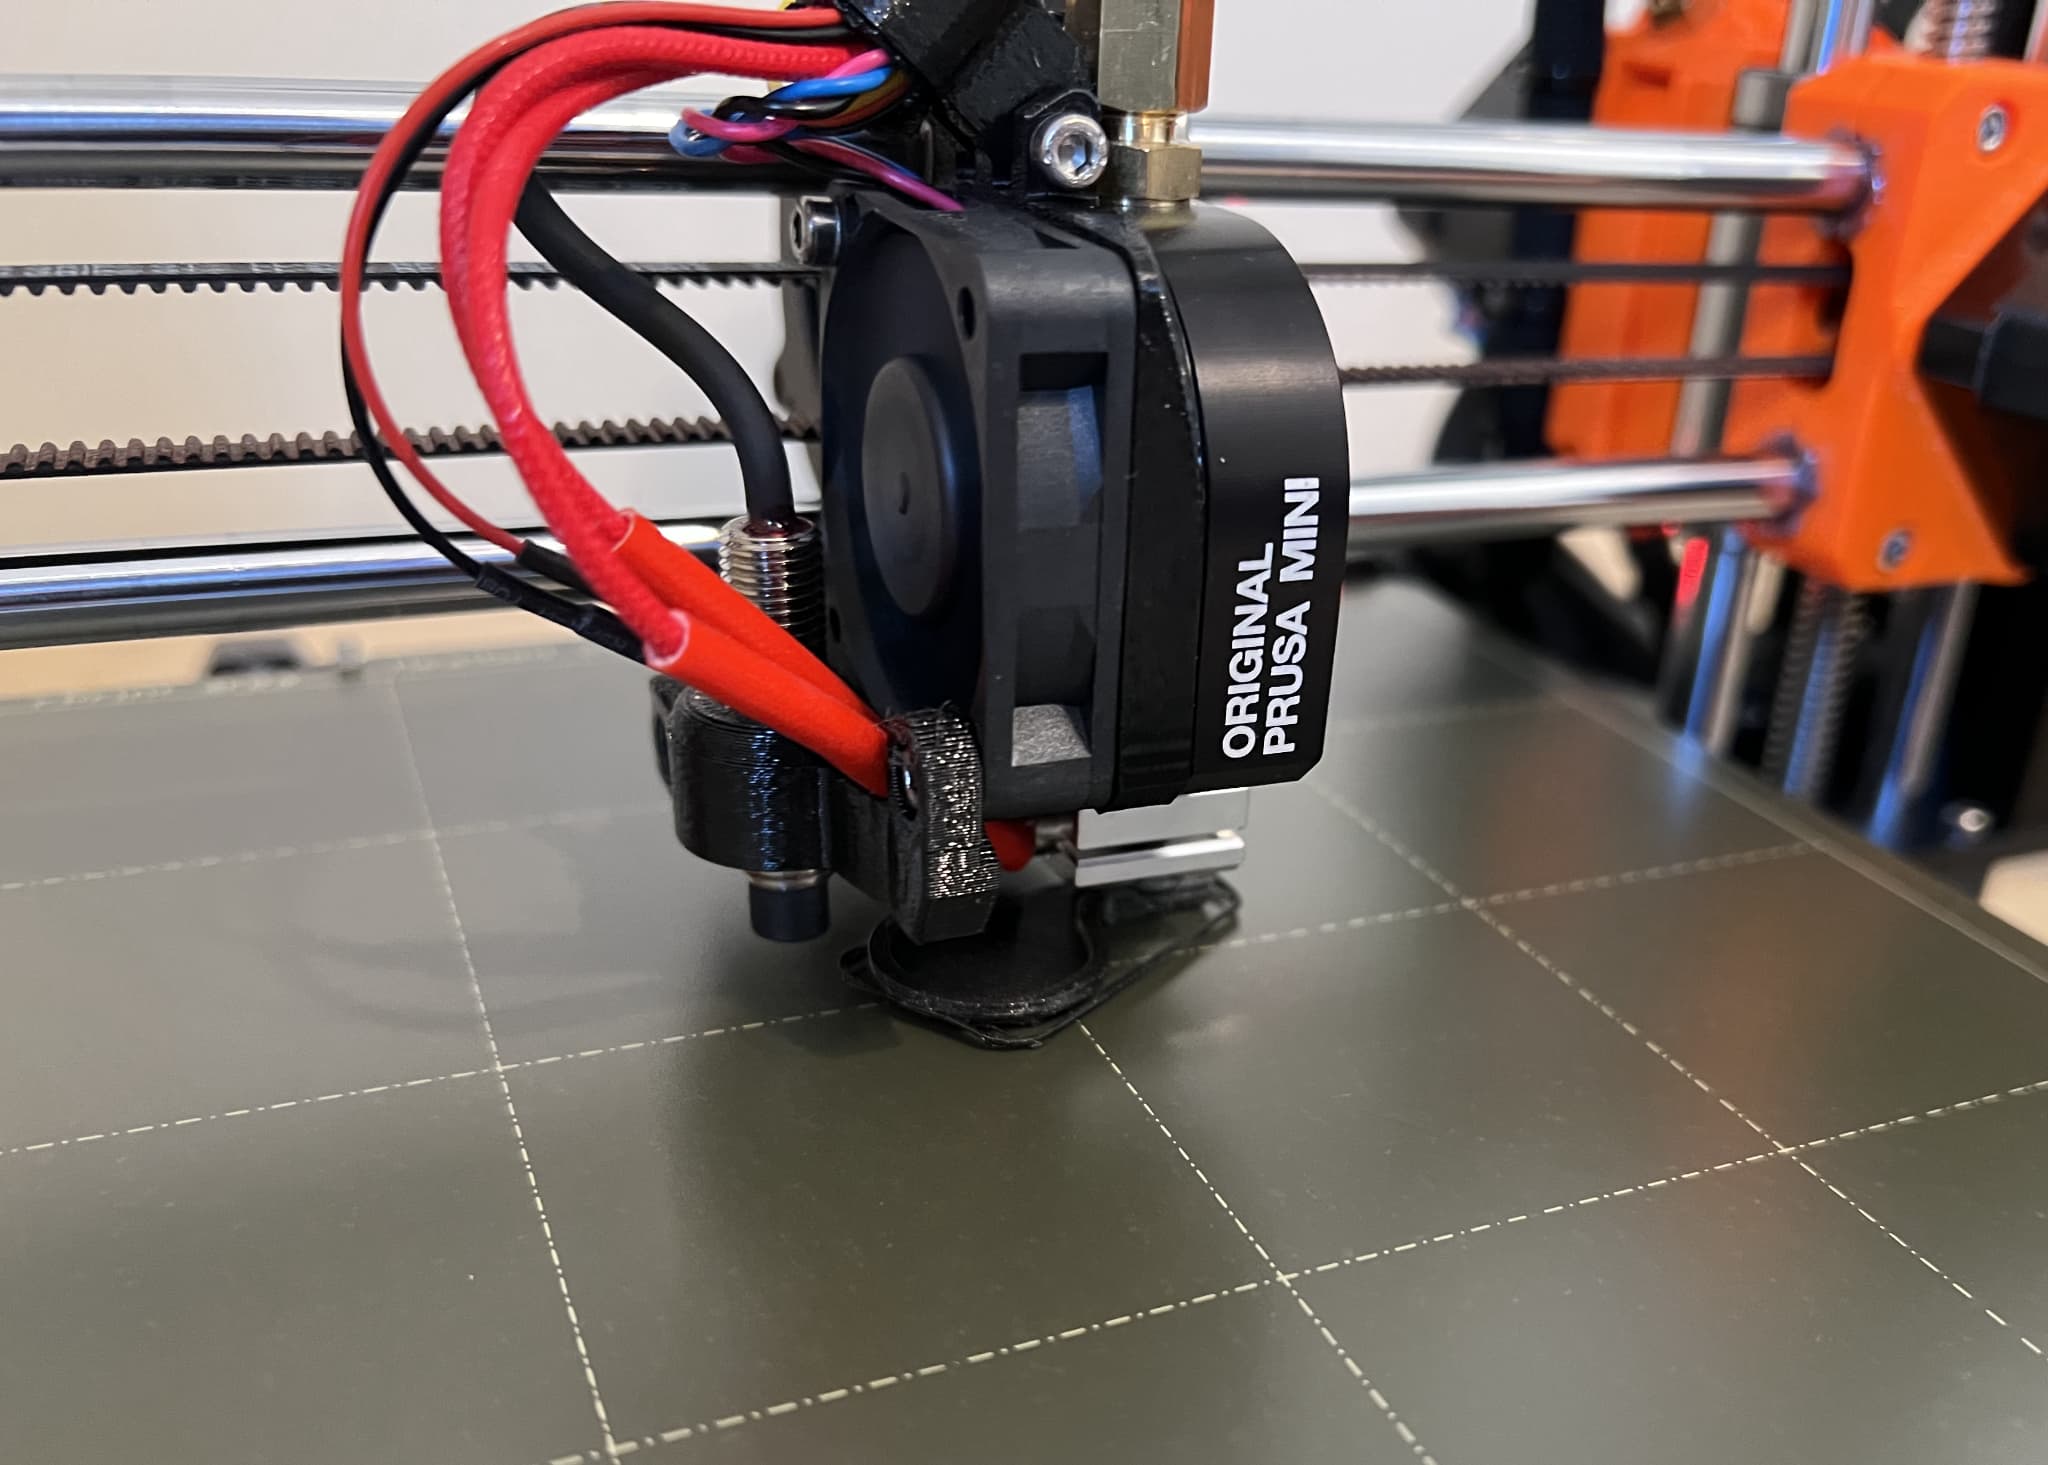
PLA (or polylactic acid) is a great plastic material for beginners, as it is vegetable-based (commonly cornstarch) and is fully biodegradable. It also operates at a relatively low temperature, with the Original Prusa Mini+ defaulting to 215 degrees at the nozzle and 60 degrees on the heatbed. These temperatures improve safety and reduce the impact of particle contaminants, specifically volatile organic compounds (VOCs) and ultrafine particles (UFPs).
The print took 33mins to complete, successfully producing a fully functioning whistle.
This early success triggered me to explore the “Prusa Prints” library, which includes thousands of print files. My son (six years old) and I agreed that Pokemon would be a good starting point, recognising there are hundreds of small, relatively simple models.
After a few hours, we had printed a small army of Pokemon, ready to be painted (I understand acrylic paint is the best beginner option for PLA).
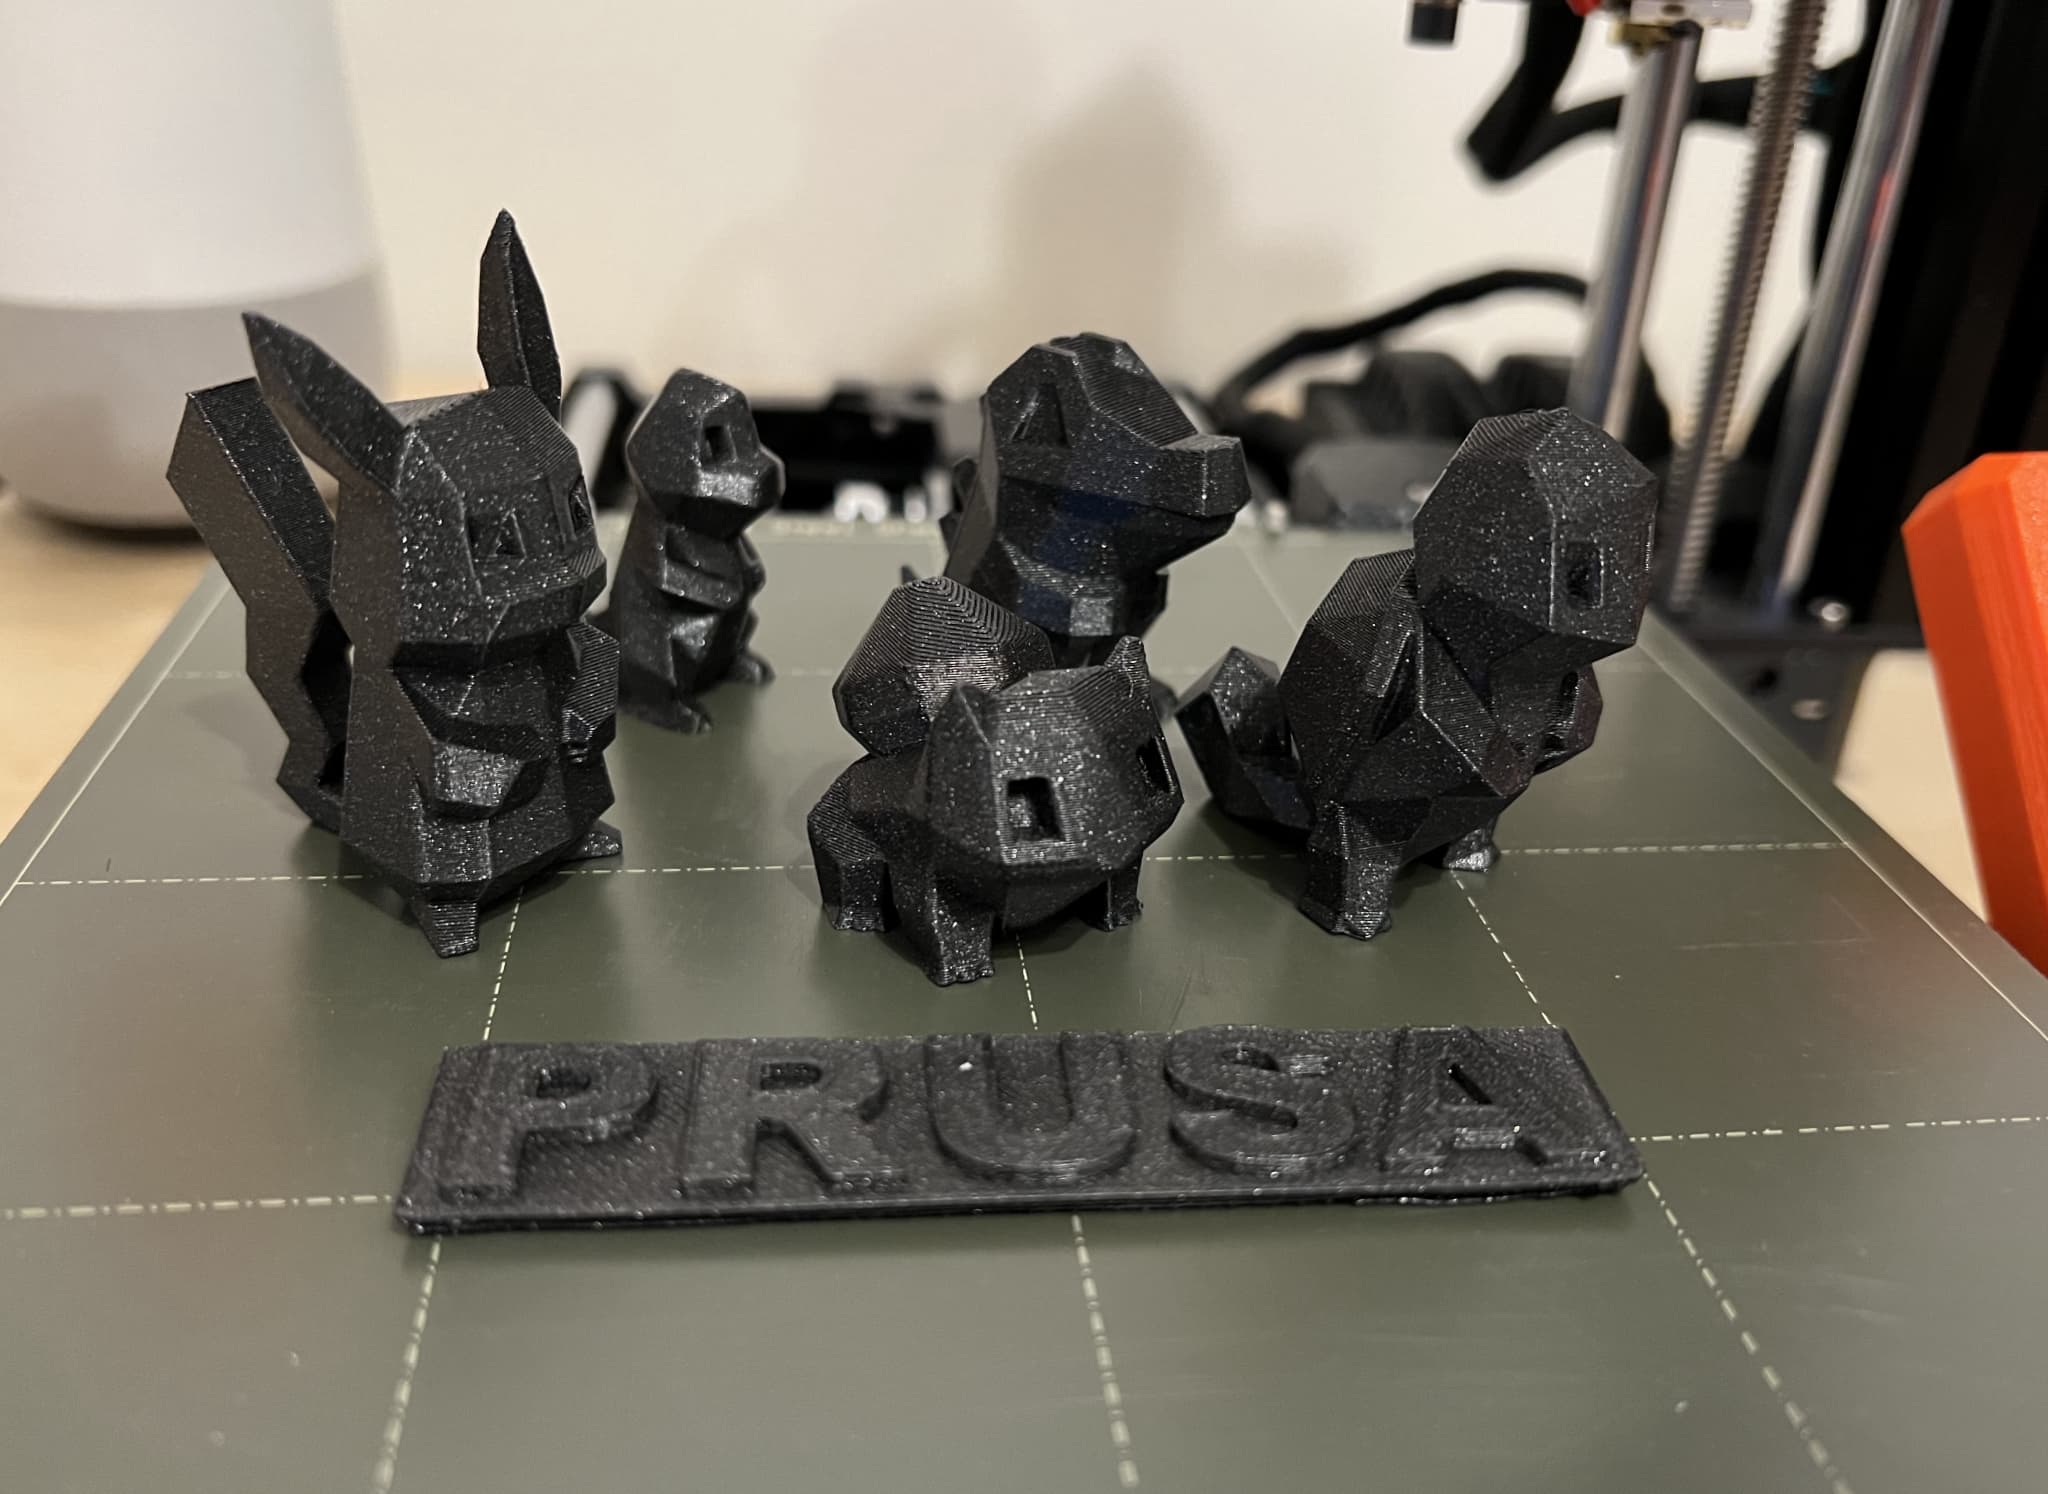
I did have a couple of failures, where the print become dislodged from the smooth PEI sheet. Thankfully, this was easily resolved through some additional tuning of the nozzle height. Although the setting is different for every printer, I settled on a nozzle height of -1.500.
Having become comfortable with single file prints, my next challenge was to produce a print that included multiple parts.
Coincidentally, my sister in law was looking for a Golden Snitch from Harry Potter that could be used as a cake topper for my nieces upcoming birthday.
As with any Harry Potter merchandise, online prices are ridiculous (£20+). Therefore, following a brief search, I found a great example on the “Instructables Workshop” website.
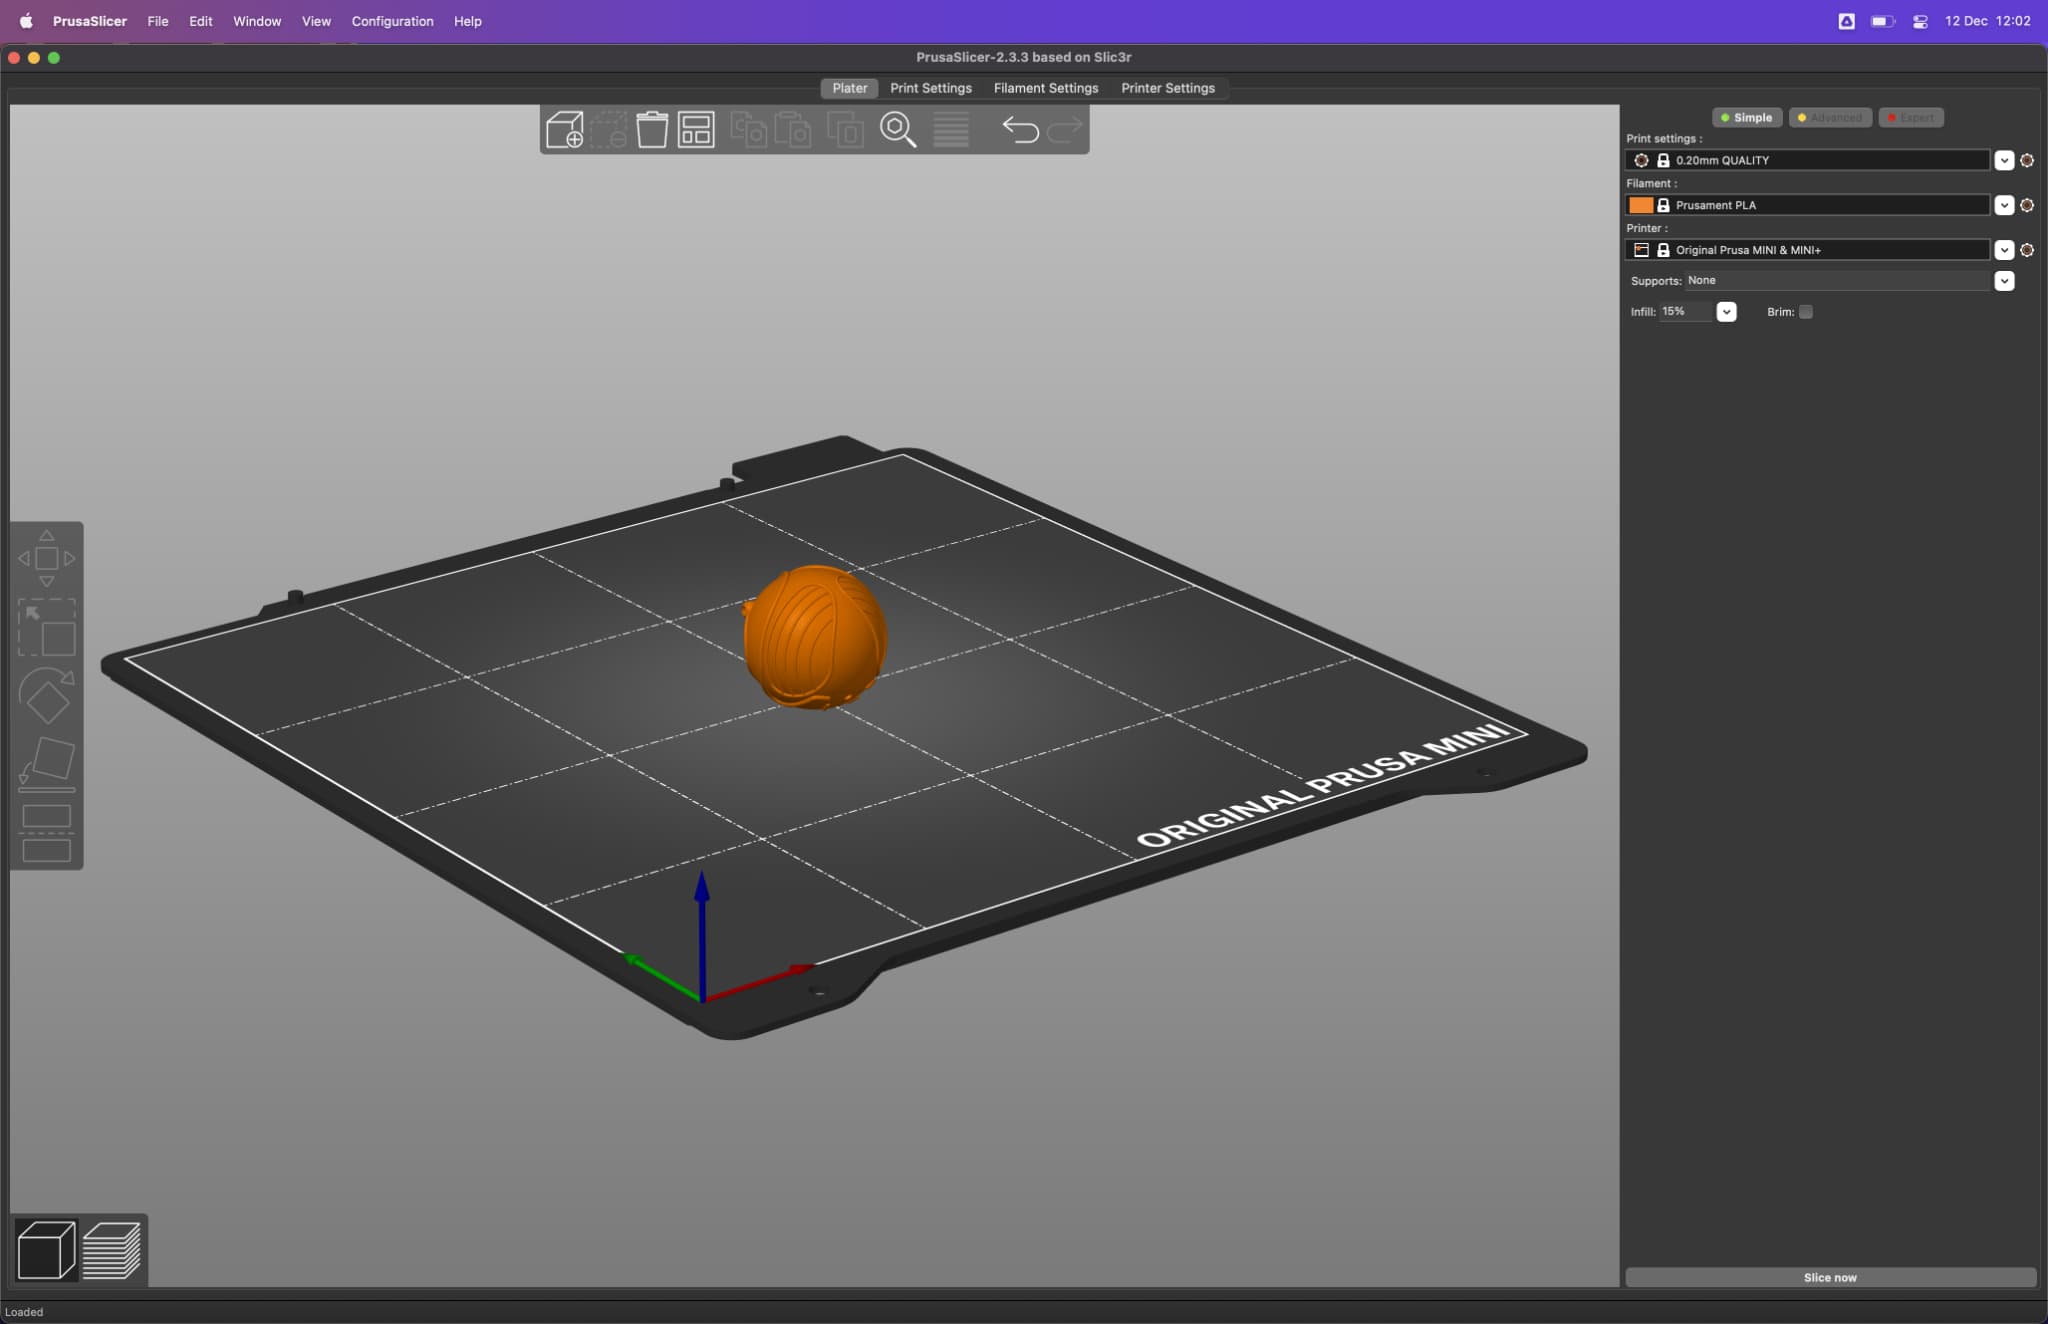
I did need to fractionally modify the “Snitch” print file using PrusaSlicer, helping to ensure good first layer adhesion.
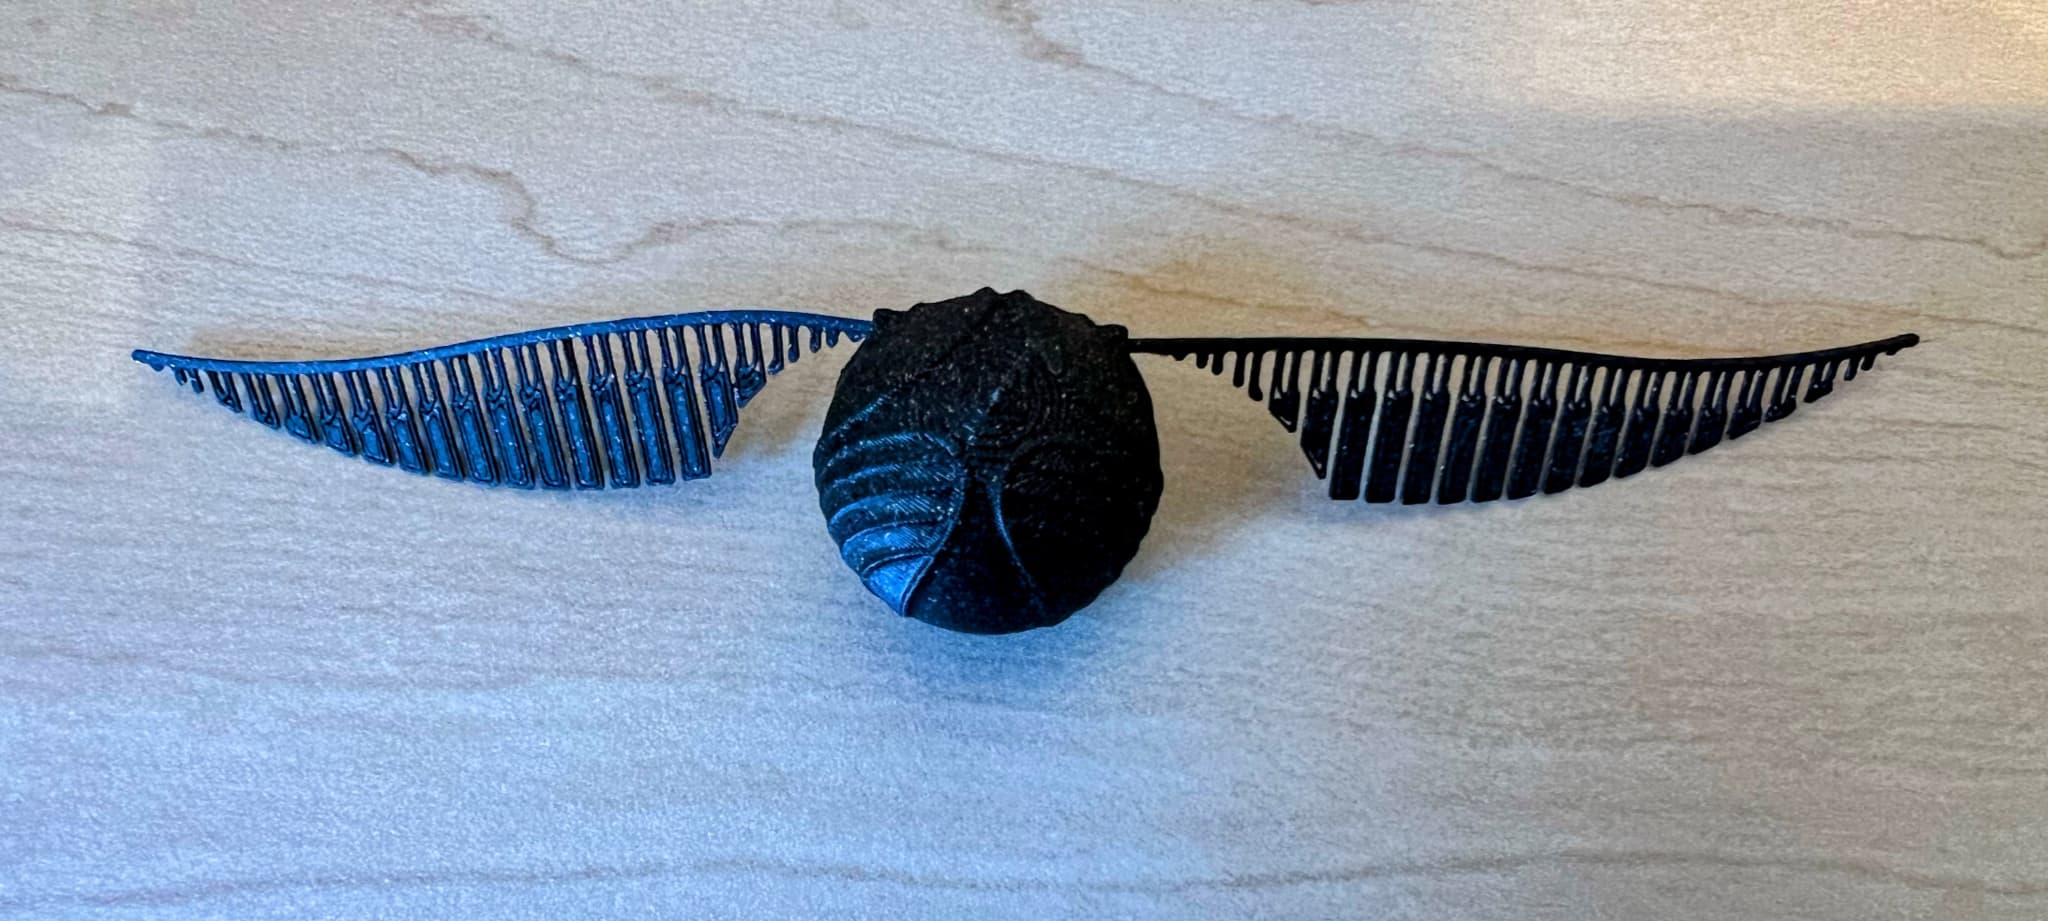
The three required prints took approximately 40mins, producing a reasonably impressive result, specifically the intricate detail on the wings.
Finally, throughout the printing process, I did monitor the air quality, which did not show any significant increase, even with the monitor placed directly next to the printer.
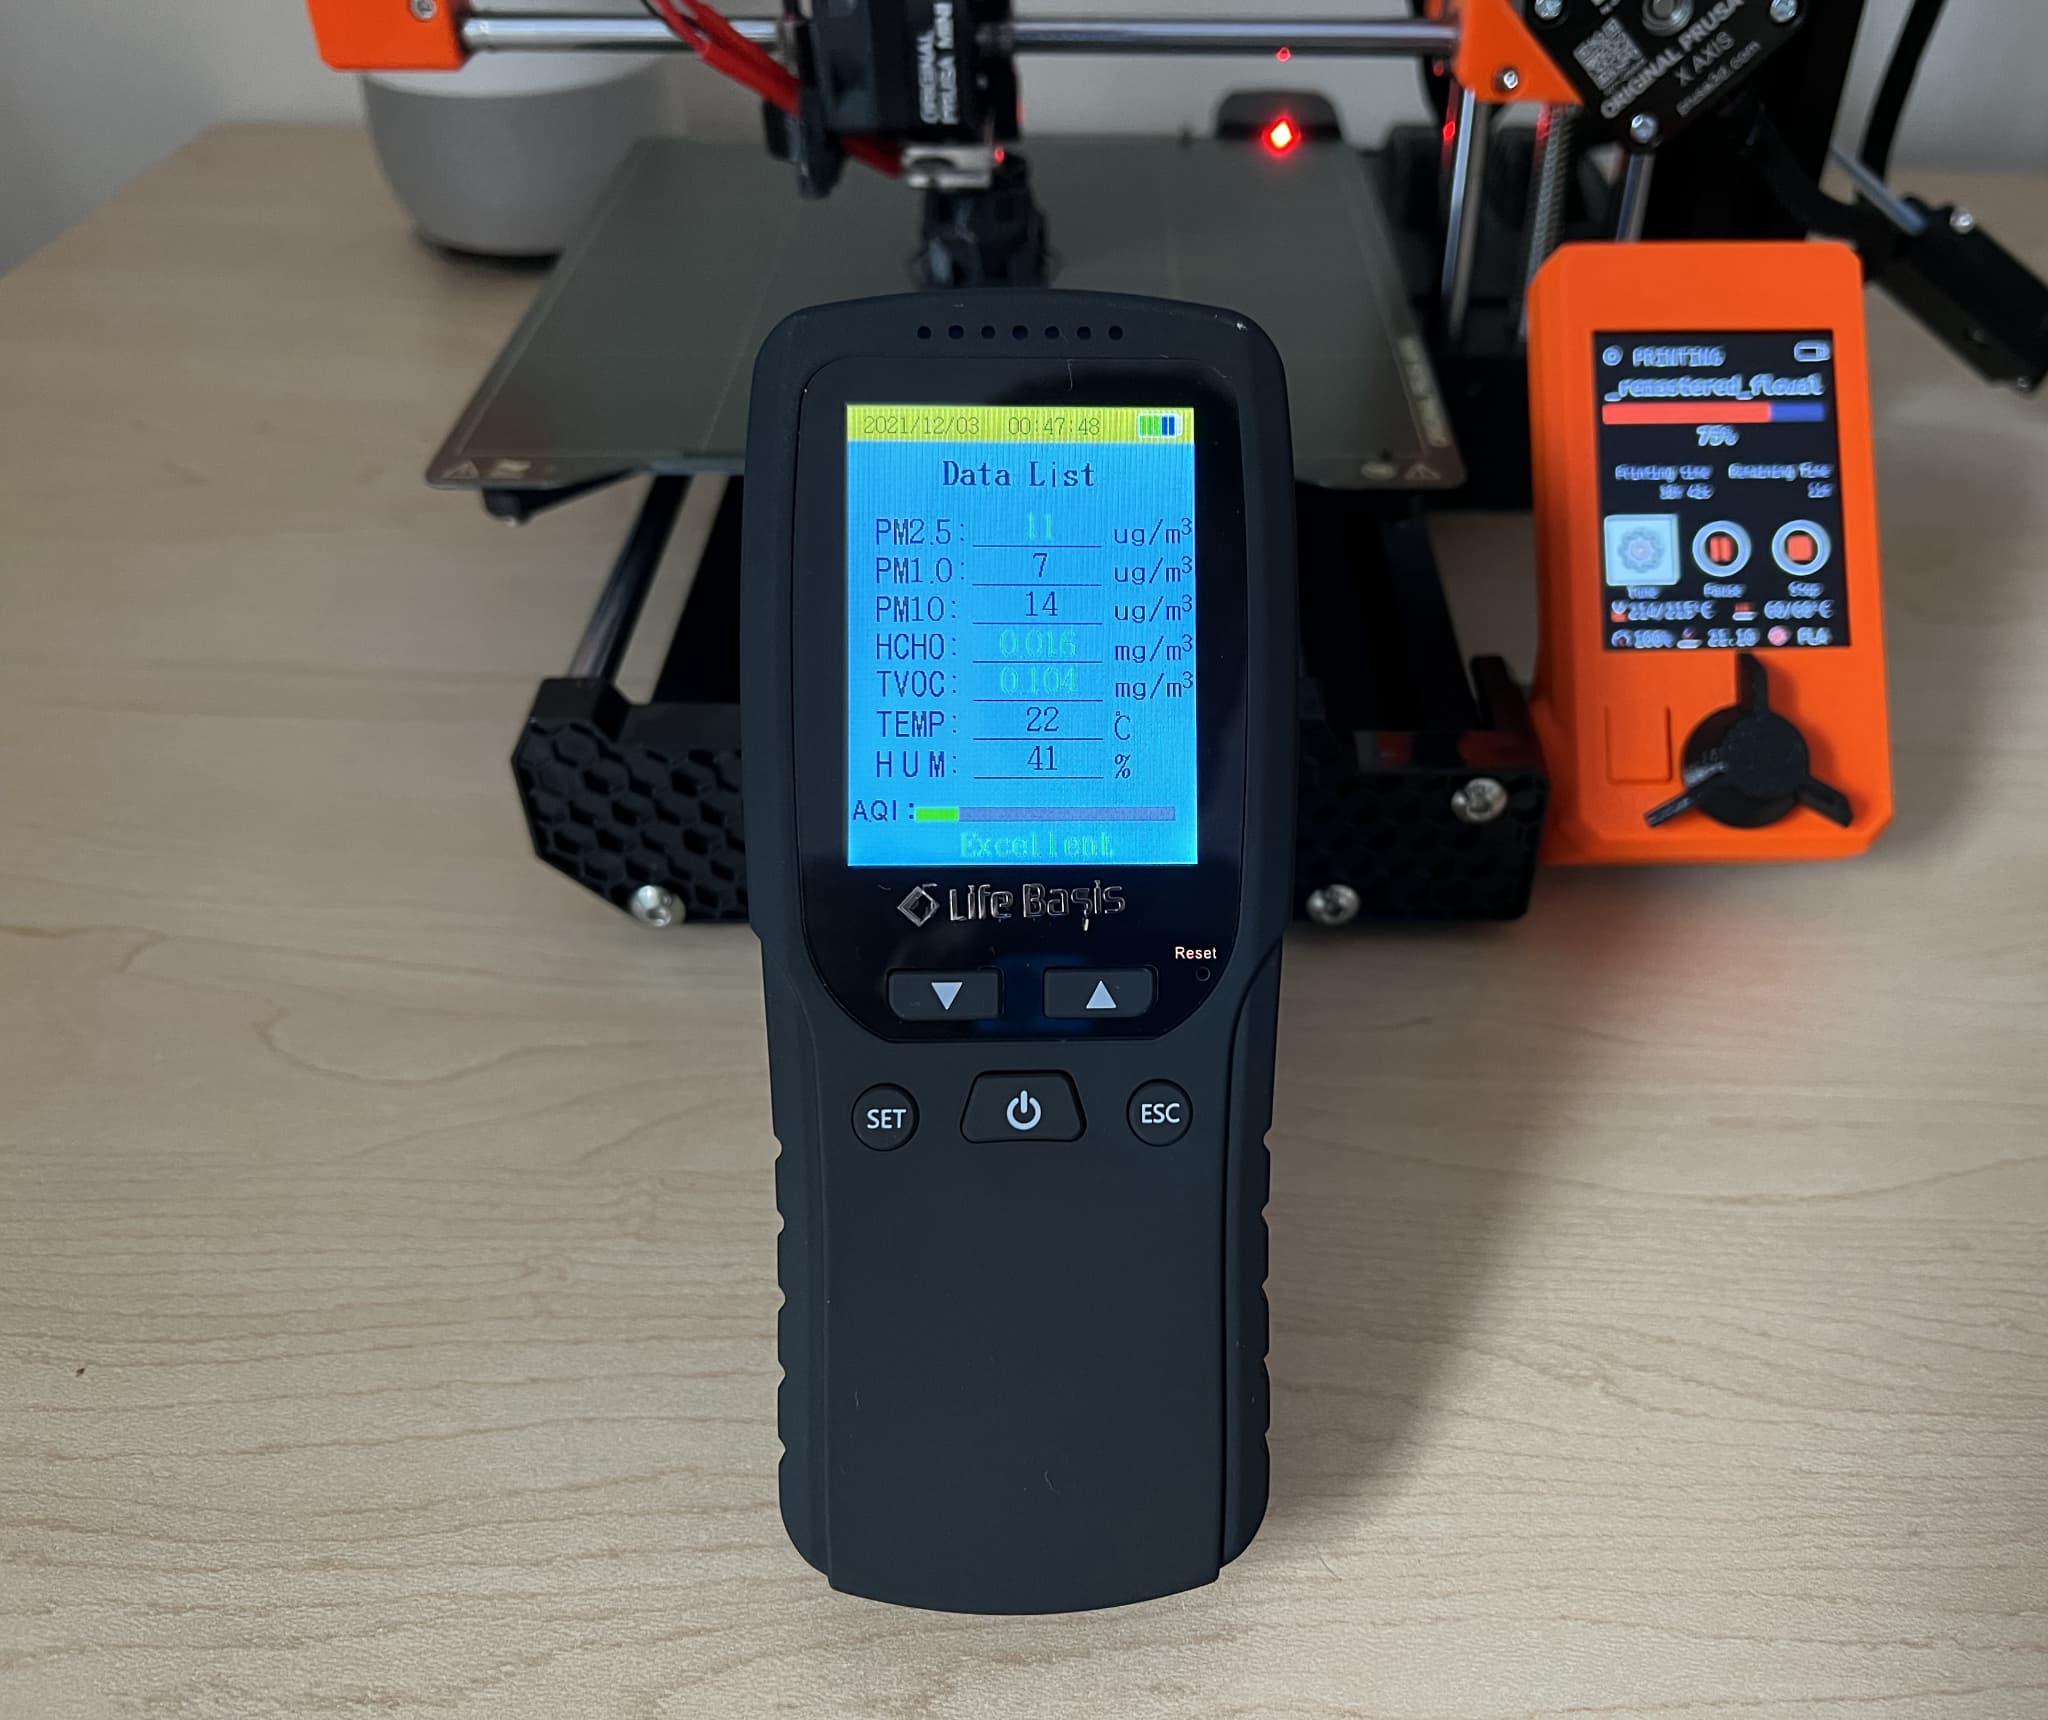
With that said, I may look to purchase/build an enclosure and would always recommend printing in a well-ventilated room.
That’s it! My first prints are complete! Over the next few weeks, I hope to increase the complexity of the prints, as well as improve my skills with PrusaSlicer to modify and create print files.