Next PC - Build
I’m currently in the process of building a new PC. I’ve been eagerly anticipating the release of Intel’s new Ivy Bridge architecture, specifically the Core i5 3570K processor (the successor to the very popular 2500K Sandy Bridge part). A reminder of the specification can be seen below:
- MSI Z77A-GD65 Intel Z77
- Intel Core i5 3570K (Malaysia, Batch L208B089) + Noctua NH-D14
- Samsung Green 16GB DDR3 PC3-12800C11 1600MHz 30nm
- Sapphire HD 7950 OC 3072MB
- Creative Sound Blaster Recon3D PCI-E
- 2x Intel X25-M (G2) 160GB SSD - RAID 0
- Samsung SH-B123L/BSBP Blu-Ray
- OCZ ModXStream Pro 700w Modular PSU
- Lian Li V1000 Case
- Logitech Solar Keyboard K750 and Logitech M705 Mouse
- Samsung S27A950D 27” 120Hz 3D
With Ivy Bridge becoming officially available in the UK last Sunday (29-APR-2012), I immediately placed my order, which arrived on Wednesday. Since then I have building, overclocking and testing.
This article aims to provide an overview of the build process, which you can also follow in my step by step gallery. So let’s get started!
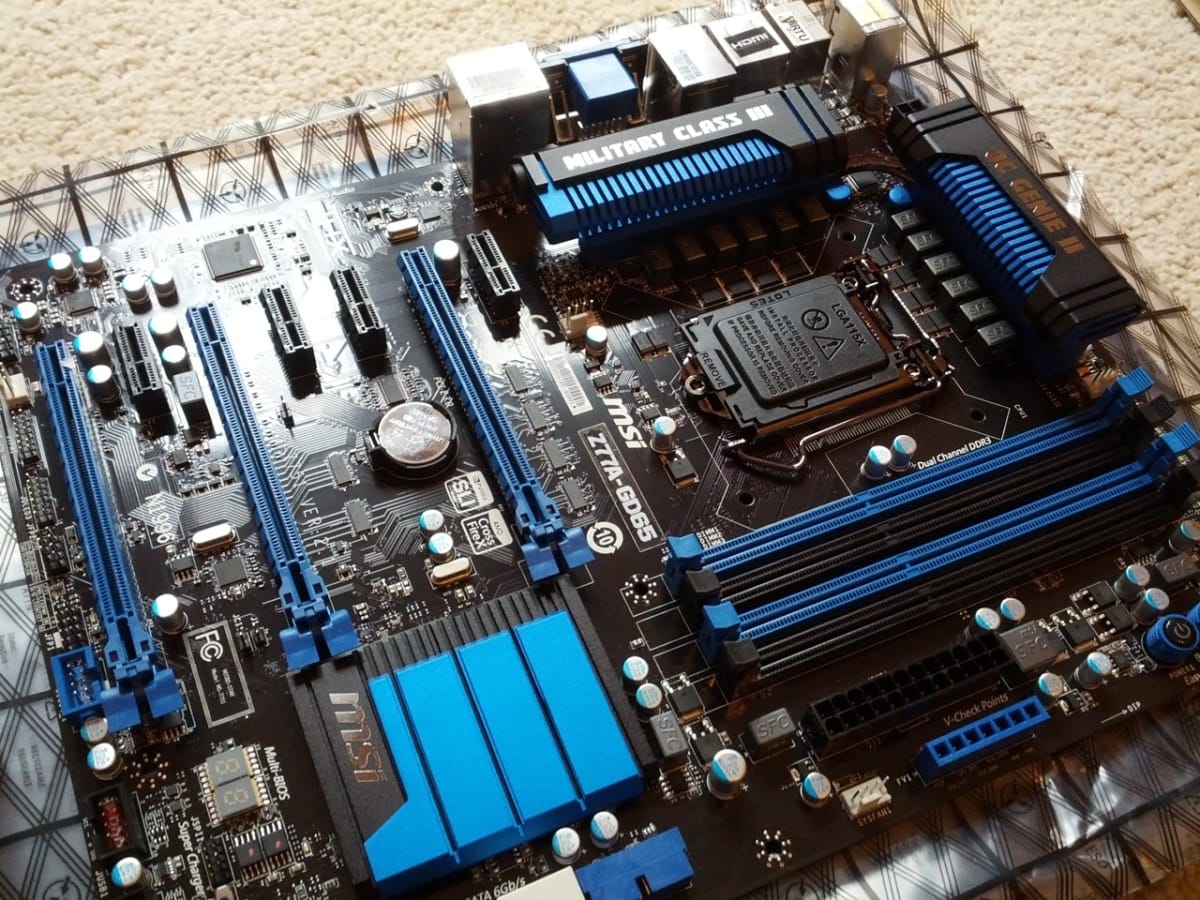
Firstly, the MSI Z77A-GD65 motherboard, utilising Intel’s new Z77 Panther Point chipset. It includes the standard LGA1155 socket, three PCI-E 3.0 x16 slots and native USB 3.0. For overclockers the Z77A-GD65 includes onboard power, reset, O/C Genie control buttons, as well as a handy CLR_CMOS button on the I/O panel. The Z77A-GD65 also includes a two-digit diagnostics display, line voltage detection points, and a dual-BIOS switch.

This is my first MSI motherboard (I normally use Asus or Gigabyte), however I have to admit the build quality and feature set is excellent. It’s also worth noting that MSI are using a 10 + 2 phase power design, with two large heatsinks to cover the MOSFETs (connected by a single heatpipe). These heatsinks are significantly larger than what other vendors have used, again demonstrating MSI’s commitment to quality components.
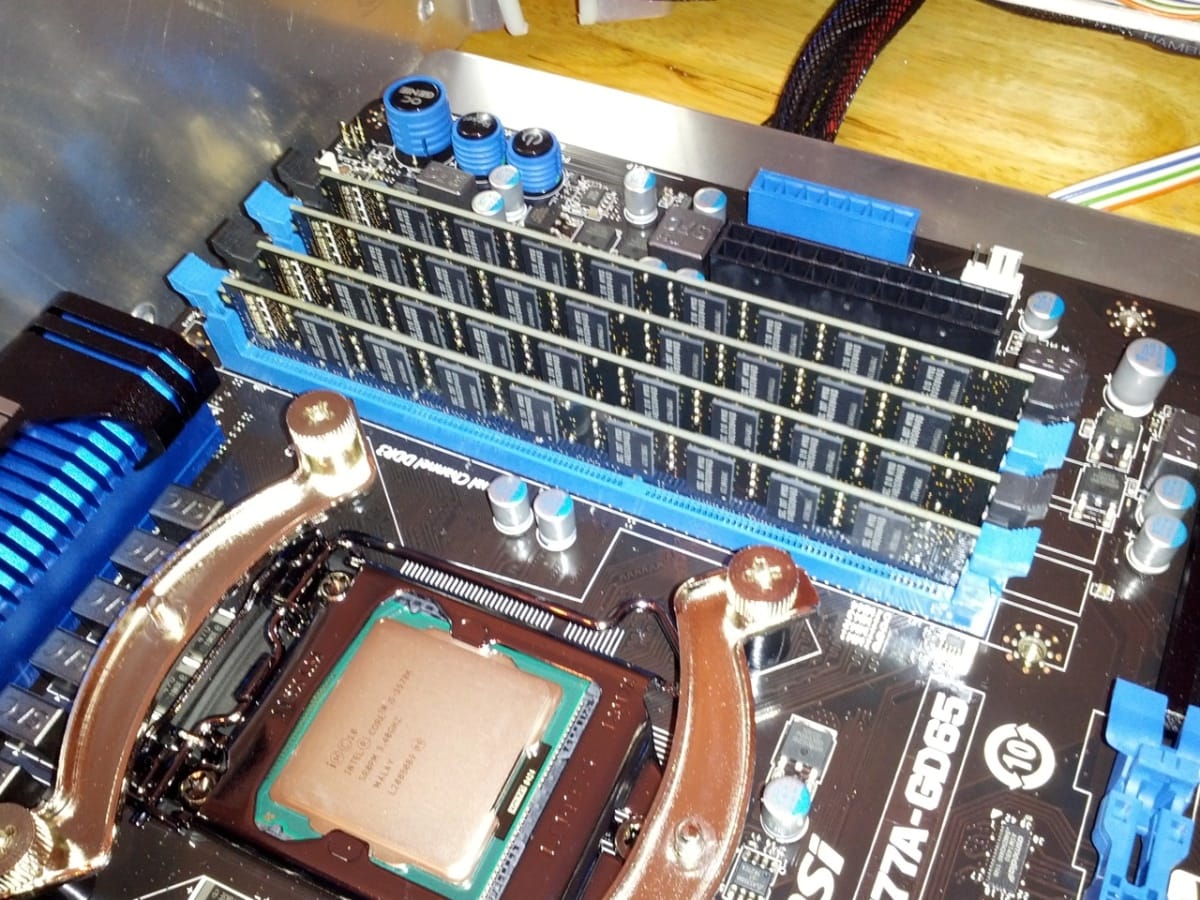
Next up are the Samsung Green memory sticks. The first thing you will notice is their tiny height, which makes them look more like laptop memory (especially when compared to my existing Corsair XMS2 sticks). I was lucky enough to get 16GB (4x4GB) of this new 30nm memory for just £77, however it has since gone up to £101 (memory prices are notoriously turbulent, so I recommend buy as much as you can while it’s cheap).

Like all memory it was very simple to install, however I do recommend doing so before attaching your CPU cooler (you’ll see why in a second).
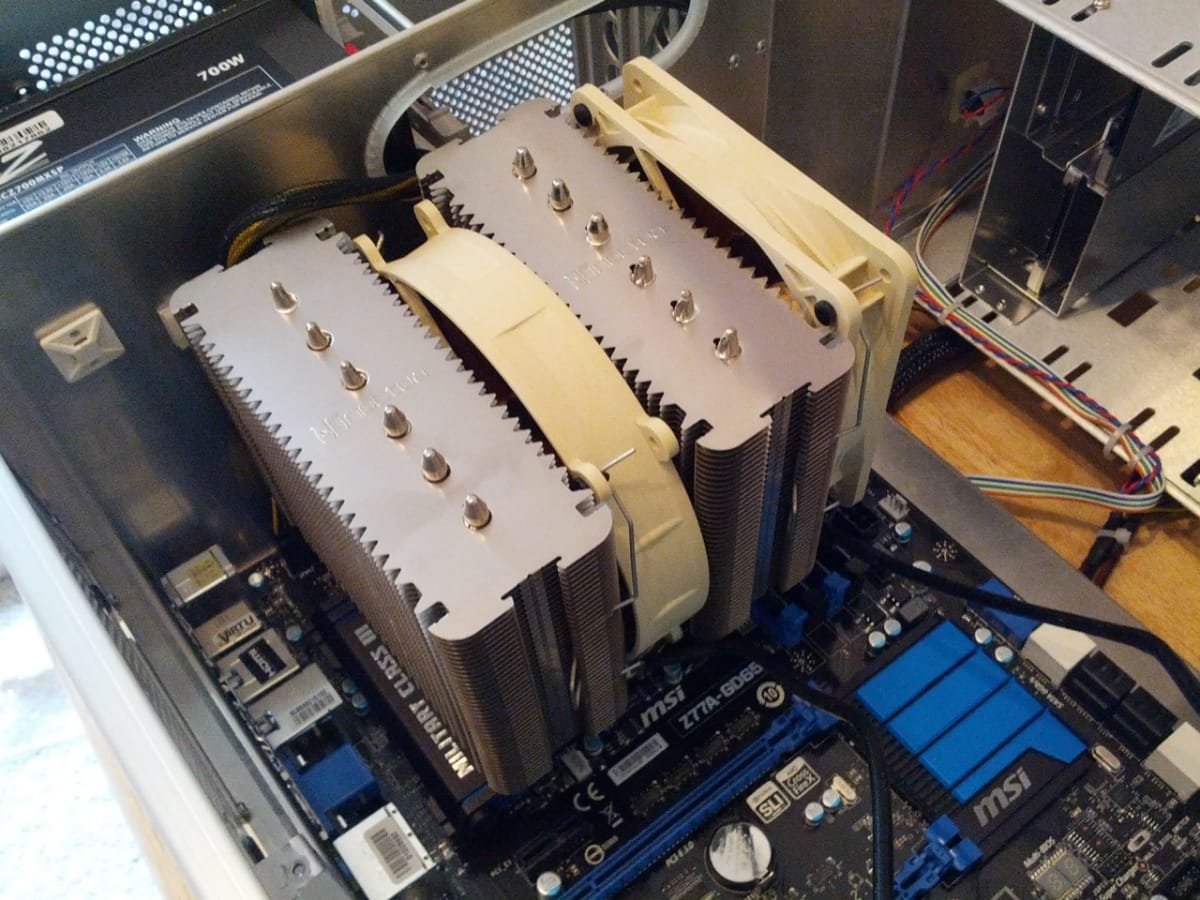
Regarding CPU cooler, meet the monstrous Noctua NH-D14 which I hope will keep my new Ivy Bridge processor in check while overclocking. Although it’s big (160mm high and 1240g) the installation process is very simple and Noctua even include two high performance fans (NF-P14 and NF-P12) and their award winning NT-H1 TIM.

Although there are many techniques to applying TIM, I personally use the “grain of rice” approach, which is also recommended by Noctua. The cooler itself has good clearance over the MOSFETs and even provides access to the memory if you remove the outside 120mm fan. With that said, unless you’re buying the Samsung Green, I still recommend you check your memory module height before buying.
It’s only after the motherboard, CPU and memory are installed that you realise just how big the “dual radiator” Noctua NH-D14 really is (taking up nearly half the motherboard).
At this point I have also installed the two Intel X25-M (G2) solid state drives, which are mounted in the center of the case to a 5.25” bracket from Lian Li (the BZ-B25A to be exact). I’m also pleased that due to the side mounted ports on the Z77A-GD65 that most of the SATA and power cables can be hidden behind the motherboard tray.
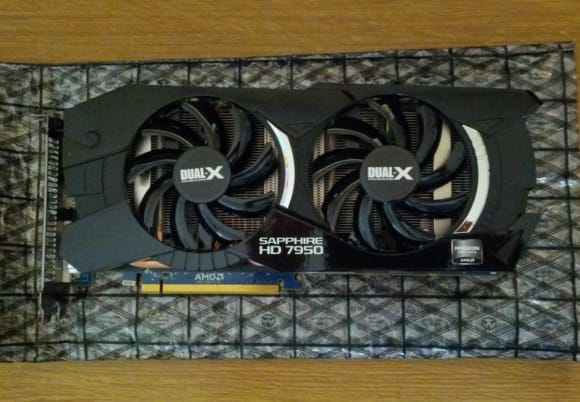
The final components are the Sapphire HD 9750 OC graphics card and the less exciting Creative Sound Blaster Recon3D (recycled from my previous system). The HD 9750 is a full length PCI-E 3.0 x16 card that requires 2x6-pin power leads. It includes a custom dual fan cooler and dual BIOS, which has been pre-programmed with a high voltage and more aggressive fan profile. To switch the BIOS you simply move the tiny switch on the top of the card to point “2”, as shown in the image gallery.

The installation of the 9750 is very simple, although it does sit very close to the Noctua NH-D14 (approximately 10mm clearance).
The system is now fully built, which includes the addition of two Scythe Gentle Typhoon 120mm (1850RPM) fans at the front and as an exhaust.
That’s it for “the build”! The next part will outline the setup and overclocking process. I will also include full benchmark results, comparing them against my previous system.